
How To Install New Brake Pads On Your Vehicle
Changing your car’s brake pads is an essential maintenance task that ensures the safety and performance of your vehicle’s braking system. According to personal injury lawyers at Hanson & Mouri, malfunctioning or poorly performing brake systems can result in a collision involving serious injuries for you and the other drivers involved. Brake pads wear out over time and need to be replaced periodically to maintain optimal braking performance.
Tools and Supplies Needed:
- New brake pads
- Jack stands or a hydraulic lift
- Lug wrench or socket wrench
- C-clamp or brake piston tool
- Brake grease
- Wire brush or sandpaper
- Brake cleaner
- Screwdriver or pliers
- Torque wrench
- Gloves and safety goggles
Step 1: Prepare Your Vehicle
Park your vehicle on a level surface and engage the parking brake. Locate the brake caliper, which is usually located behind the wheel and is responsible for holding the brake pads. Before proceeding, it’s important to release the brake fluid reservoir cap to avoid pressure build-up when compressing the caliper piston.
Step 2: Loosen the Lug Nuts
Using a lug wrench or socket wrench, loosen the lug nuts on the wheel where you’re changing the brake pads. Loosen them just enough to make it easier to remove them later.
Step 3: Lift and Support Your Vehicle
Using a jack or hydraulic lift, carefully raise the vehicle until the wheel is off the ground. Once the wheel is off the ground, use jack stands to securely support the vehicle. Safety should be a top priority when working under a vehicle, so make sure the vehicle is properly supported on stable jack stands before proceeding.
Step 4: Remove the Wheel
With the vehicle securely supported, use the lug wrench or socket wrench to completely remove the lug nuts and take off the wheel. Set the wheel aside in a safe place. It’s important to also keep track of your lug nuts because you’ll need to put them on again later.
Step 5: Remove the Brake Caliper
Locate the brake caliper and remove the bolts or clips that are holding it in place. Depending on your vehicle, you may need to use a screwdriver or pliers to remove the clips. Once the caliper is free, carefully slide it off the rotor and suspend it using a wire or bungee cord to prevent strain on the brake hose.
Step 6: Remove the Old Brake Pads
With the caliper removed, you can now access the old brake pads. Carefully remove them from the caliper by sliding them out or unclipping them, depending on your vehicle’s design. Inspect the old brake pads for wear and damage, and compare them to the new brake pads to ensure they are the correct replacement size.
Step 7: Prepare the Caliper and Install New Brake Pads
Before installing the new brake pads, it’s important to prepare the caliper. Use a wire brush or sandpaper to clean the caliper’s sliding pins, clips, and other components. Apply a thin layer of brake grease to the sliding pins to ensure smooth movement.
Next, install the new brake pads into the caliper. They should fit snugly and align with the rotor. If necessary, use a C-clamp or a brake piston tool to compress the caliper piston back into its housing. Be careful not to damage the piston or brake hose during this process.
Step 8: Reinstall the Brake Caliper
Once the new brake pads are installed, carefully slide the brake caliper back onto the rotor, aligning it with the new brake pads. Make sure the caliper is seated correctly, and reinstall the bolts or clips that hold
Step 9: Reinstall the Wheel
Carefully place the wheel back onto the wheel hub and hand-tighten the lug nuts as much as possible. Use a lug wrench or socket wrench to securely tighten the lug nuts in a crisscross pattern to ensure even tightening. Refer to your vehicle’s owner’s manual for the recommended torque specification for your lug nuts, and use a torque wrench to achieve the correct torque.
Step 10: Lower the Vehicle
Using a jack or hydraulic lift, carefully lower the vehicle until the wheel touches the ground. Once the vehicle is on the ground, use a torque wrench to re-check the lug nuts and make sure they are tightened to the manufacturer’s specifications.
Step 11: Test the Brakes
With the vehicle on the ground, start the engine and pump the brake pedal several times to restore brake pressure. Verify that the brake pedal feels firm and responsive. Test the brakes by gently applying them while driving at a low speed to make sure they are functioning properly.
Step 12: Repeat the Process for Other Wheels
If you’re replacing brake pads on one wheel, it’s generally recommended to replace the brake pads on the other wheel of the same axle as well to ensure balanced braking performance. Repeat the above steps for the other wheel if necessary.
Step 13: Clean up and Final Checks
Clean any brake dust or debris from the wheel, caliper, and surrounding areas using a brake cleaner and a clean cloth. Double-check that all bolts, clips, and other components are securely tightened and in their proper place. Verify that the brake fluid reservoir cap is securely tightened and in place.
Step 14: Properly Dispose of Old Brake Pads
Dispose of the old brake pads properly according to local regulations. Brake pads contain hazardous materials and should not be thrown in regular trash or dumped in the environment. Check with local auto parts stores or recycling centers for proper disposal methods.
Step 15: Keep a Record and Follow the Break-In Procedure
Keep a record of the date and mileage of the brake pad replacement for future reference. Also, follow the manufacturer’s recommended break-in procedure for the new brake pads. This typically involves avoiding heavy or sudden braking for the first 100-200 miles to allow the brake pads to properly bed in with the rotors and achieve optimal performance.
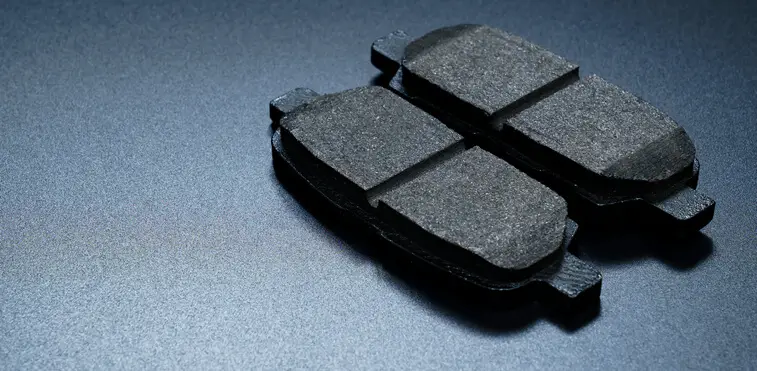
Brake pads are a critical component of a vehicle’s braking system, providing the necessary friction to slow down or stop the vehicle when the brakes are applied. They play a crucial role in ensuring the safety and performance of the vehicle by allowing for reliable stopping power, maintaining control during braking, and preventing accidents. Properly functioning brake pads are essential for optimal braking performance, shorter stopping distances, and safe driving. As described by the accident attorneys at Shaw Cowart, inspection, maintenance, and timely replacement of vehicle parts like brake pads are crucial to ensure the safe and effective operation of a vehicle. Always be proactive in making sure your car is safe to drive for yourself and others on the road.
Note: This guide provides general instructions and may not be applicable to all makes and models of vehicles. It’s essential to refer to your vehicle’s owner’s manual for specific instructions and safety precautions before attempting any maintenance or repair task.