
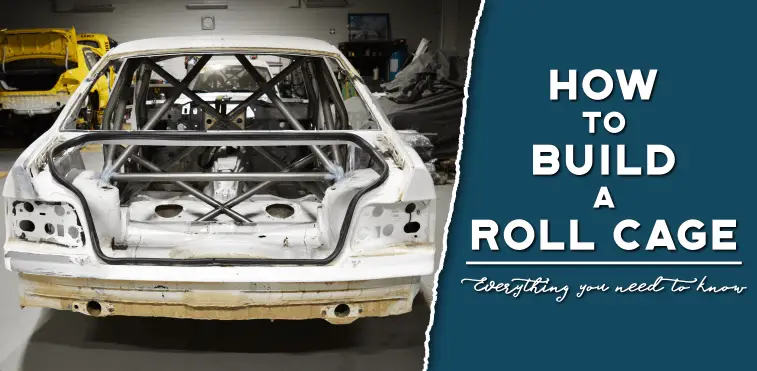
How To Build A Roll Cage – Everything You Need To Know
A roll cage is a metal framework that can be built around the inside of a vehicle. They are typically used to reinforce the vehicle and ensure that the passenger is protected in the event of an accident, particularly if the car rolls.
Roll cages are predominantly used in cars that are being used for racing and stunt work because of the aggressive driving style and the increased danger. For this reason, they are also often used in off-road vehicles. An everyday vehicle is unlikely to have or need a roll cage, but sometimes a roll bar is installed to give the driver some amount of protection in the event of a rollover.
There are a number of roll cage designs that exist for use depending on your needs. An 8-point roll cage is the most basic and therefore probably the best option if this is your first build. An 8-point roll cage includes a main hoop, a windshield brace across the roof, a back brace, sides, subframe struts, and gussets. Beyond this, there are 10, 12, and 14-point designs that provide more structural integrity.

From Visually.
If you need help finding the right cage design for your car, I strongly suggest you check out the “How To Choose The Right Roll Cage For Your Car” post from SpeedHunters. Everything you need to know to clear that out is in there.
Do it right, Do it once

One of the most crucial decisions you’ll make when building your own roll cage is deciding on the materials that you are going to use. Mild steel is a common choice as a result of its strength, its reasonable price, and the fact that it’s relatively easy to work with. However, steel is heavy and will hinder your performance to a degree if you are using the car for racing. Therefore, a viable alternative to steel is chromoly. It is quite similar to steel in strength but is considerably lighter and, subsequently, will not hinder your vehicle’s performance as much.
For the purposes of this guide, we’ll be discussing how to build a steel roll cage; however, the process when using chromoly is mostly the same other than the fact that it is advised that you TIG weld chromoly. When using mild steel, you can use a MIG or a TIG welder.
Before you start building, you need to make sure you have enough room to install the roll cage. You may need to remove the car seats and carpet.
Another tip before you start building your cage would be to make sure that you have enough room to install it. Measuring properly is crucial for a successful build.
Tools you’ll need to build a roll cage:
• 1 3/4-inch DOM mild steel tubing
• Tube bender
• Pipe notcher
• Protractor or carpenter’s angle finder
Measuring
As we said previously, measuring is absolutely crucial to your build. These are the measurements that we recommend taking.
Note: This will require a measuring tape and a protractor
Measuring for the main hoop
1. Width of the roof
This is where the roof bar of the roll cage will go, so you need to make sure that there is space for that bar and space for it to start bending down. Therefore, it is necessary to measure the angle at which your roof meets the side of your car so that you can determine the angle that the tube will need to bend.
2. Height of the car
This refers to the height of the car from the floor to the roof, this determines how high the roll cage needs to be
3. Width of the car
This refers to the width of the car from side to side. This determines how wide the hoop can be. Ensure that there are no obstructions that could get in the way of the sides of the main hoop, though as they should go all the way to the floor. If there are obstructions, measure from those instead.
4. Roof to side
This refers to the distance between where you intend the roof bar to end and the sidebar to begin. This measurement will determine the length of the bend that connects them.
See also:

3 Best Welders for Auto Body Work
Measuring for the rear and door braces
1. Floor to the main hoop
Floor, in this instance, refers to where the base plate will go for the brace. The main hoop, in this instance, refers to the part of the main hoop that the brace will attach to. In order to measure this, there are a few steps you must take. First, get the horizontal distance between where the brace will go in the base plate and the hoop. Secondly, get the vertical distance between the base plate and where the brace will attach to the main hoop. By using these two measurements, you can find out the length of the tube you will need to go diagonally from the main hoop to the baseplate.
Measuring for the seat crossmember
1. Inside the main hoop
This refers to the horizontal distance between the side tubing on the main hoop. The seat crossmember goes in between these two bars.
2. The Base Plates
Base plates are what you will use for attaching the roll cage to the floor of your vehicle. The usual recommendation is 3mm thickness; however, you can use thicker plates to provide more stability. When determining where to position the plates, the plates attached to the door braces should be next to the firewall, and the plates attached to the rear braces should be placed behind the front seats.
Bending the Tubes
The main rule to follow when bending your tubes is that there should be no signs of deformation, and the bend should be totally smooth. It would be advisable to buy more tubing than you need for this reason.
Notching the Tubes
A properly fitting notch is crucial for achieving a strong weld joint. You need to ensure that your tubes fit together tightly prior to welding them.
Cage Design
As you’d imagine, your cage design depends on the type of vehicle you’re working with. However, there are a few rules that we believe should be followed when working on any cage:
1. Minimize Bends
Bending pipes is a necessary part of building almost any roll cage, but you shouldn’t add any bends that don’t absolutely need to be there. Even the most perfect bend will be weaker than a straight pipe, so avoid them wherever possible.
2. Consider the Structure
Although you may be tempted to try and improve the looks of your roll cage by giving it a more interesting shape, this is not recommended. The primary purpose of a roll cage is safety; therefore, you should build it with this in mind.

Ideally, each tube should be one leg of a triangle, especially if it is one of the main structural pieces.
3. Gusseting
When building a basic cage such as this one, it is advisable to gusset the corners. This can be done very simply by just welding a piece of tubing diagonally into the corner, making it look like the letter A.
Last Words
Building your own roll cage makes for an excellent project, but if you are not confident that your welds will be of a high enough quality, then you should leave it to a professional. As we’ve mentioned before, the primary purpose of a roll cage is safety, and bad welds do not make for safe cages. However, if you are confident in your abilities, then giving it a go will be a rewarding challenge.